The interior of a car is possibly scratched due to daily wear and tear. Alternatively, regular use might make the interior appear worn. However, this piece will teach you “how to fix scratches in car interior plastic.”
Scratches in the plastic of the car’s interior are nasty. When it comes time to trade in the vehicle, it can reduce its true value. This is due to the fact that no one wants to buy a car with scratches. However, scratches can be repaired or reduced.
Carelessness or inappropriate method might exacerbate the problem while attempting to repair automobile interior plastic scratches. The goal should be to avoid scratches.
With these tips in hand, you will never longer discard scratched plastic things. You can improve their appearance. Continue reading to find out how it’s done.
Table of Contents
How To Fix Scratches In Car Interior Plastic
Different Kinds of Plastic Scratches
Different compounds can scrape the plastic trim of a car in various ways. However, practically all scratches are of the same type.
Various chemicals can generate scratches in the interior plastic of a vehicle. Some frequent internal scratches are listed below.
Scuffs
When common objects, such as shoes or boots, brush against the car’s plastic surface, scuff marks form. The outside colors or grime of an object can adhere to the plastic panel.
Scuff marks on car door sill plates and interior panels are frequent. People who drag their feet when entering or exiting vehicles leave scuff marks. These marks, however, do not harm or tear the plastic surface.
Scratches
Scratches are more severe than scuff marks as they can rip the surface of a plastic panel. Heavy object Scratches such as screwdrivers, pocket knives, or mishaps that scrape against the interior plastic surfaces of an automobile.
Chips
The car’s plastic panels can become chipped as a result of normal wear and tear. Chipping is more common in older vehicles than in new vehicles. Chips, unfortunately, are the most difficult to fix.
If the plastic panels of your vehicle have started to chip, you must save the breakaway parts because finding similar-looking portions can be difficult.
Cracks
In high-stress locations, the interior plastic of the car may become brittle and shatter. Areas exposed to direct sunlight are prone to cracking. As a result, you must inspect the inside plastic condition of your vehicle to detect fractures.
How to Remove Scratches from a Car’s Interior

You can repair the condition of your car’s inside plastic by using one of the methods indicated below.
#1 Making Use of a Heat Gun
Using a heat gun to remove scratches from interior plastic is a standard method. This approach requires a heat gun, inside car cleanser, and fine sandpaper.
Clean the inner plastic surface of the car before attempting to fix it. Spray the inside car cleaner onto a microfiber cloth and brush the towel in a circular motion on the plastic to remove dirt and grime. Using another microfiber towel, remove any extra cleaning solution and grime.
Once the plastic surface dies, use a heat gun to apply heat to the scratched region of the plastic panel. Constantly expose the heat evenly.
Avoid heating the plastic surface for an extended period of time as this can cause permanent damage or melt the plastic. If the plastic surface becomes textured, you must stop applying heat.
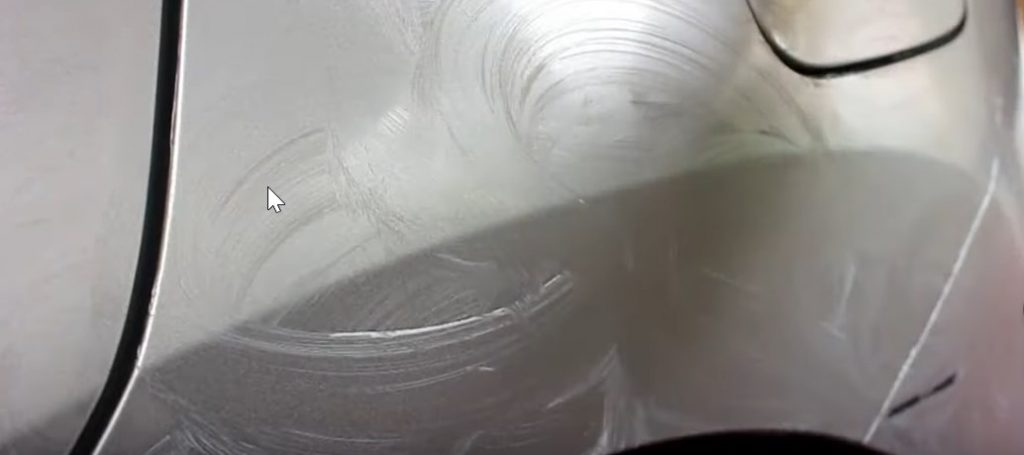
After the surface cooled down, sand down any uneven spots using sandpaper. It will provide a consistent and smooth finish. Cleaning the repaired surface is the final step in the process.
#2 Scratch Polish Kits for Plastic
Plastic scratch polish kits can use to remove minor scratches. A plastic cleaner, microfiber cloths, a polishing compound, and polishing/buffing pads are included in the kit. A rubbing compound is included in certain plastic scratch polish kits.
You must smooth down the scratched area with fine sandpaper. Don’t put any additional pressure on yourself. Sandpaper the scratches gently until they are no longer visible.
Spray the plastic surface with a plastic cleaner. Using a microfiber towel, remove the dust and debris. Polish the sanded area with polishing or buffing pads.
Polishing pads in a back-and-forth motion should be used to provide maximum polish in the scratch. After polishing the scratched areas, apply another light layer of polish. Then, let the polish dry. After it has completely dried, buff off the excess polish with a clean microfiber cloth.
Avoid using sandpaper if your plastic scratch polish kit includes a rubbing compound. A rubbing compound can be used to smooth down the plastic surface of your car. Using such kits, you may begin the scratch repair process by applying a rubbing compound to the scratched area with a microfiber towel. Wipe away any excess with another towel.
You can improve the appearance of the fixed surface by applying another coat of rubbing substance. Then, polish the scratched surface. Buff off any excess polish with another microfiber cloth.
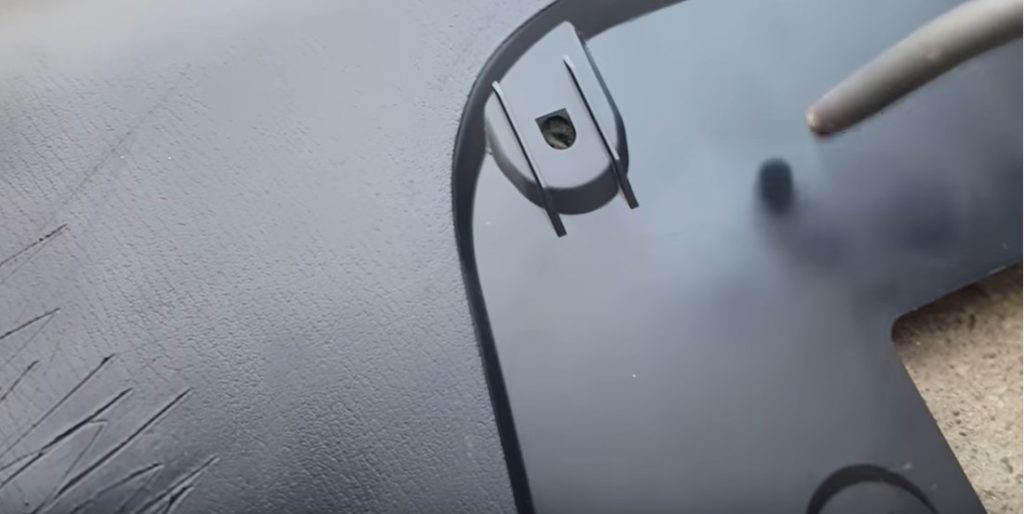
#3 Filler Putty + Interior Grain Pads
If your car’s interior plastic has significant gouges or scratches, you can use this procedure to fill them in and repaint them. Remove the plastic panels from the car if there are deep scratches. Removing the panel provides better access to the panel’s various surfaces and sides.
However, if removing the plastic panel is not a possibility, masking tape can be used. It will safeguard the related materials.
Begin the scratch repair process by removing any parts of plastic that are protruding from the affected area. Sand down the scratches using sandpaper. Clean the sanded surface thoroughly.
Spray the car’s interior cleaner on a microfiber towel. Rub a microfiber towel across the surface of the plastic panel to remove debris and dirt. Wipe away any debris, and filth using a clean microfiber towel.
Then you’ll need a grain pad to use with the filter putty. Spray a tiny panel portion with a surface sealant and corrosion inhibitor. Then, using a hot glue gun, adhere to the separate plastic pieces that are larger than the scratched region.
Stick the glue side of the plastic piece to the sealant-sprayed panel part. After the glue has dried, remove the plastic piece. If you gently remove the plastic piece, the texture of the glued side of the plastic piece will match the factory grain pattern of the panel.
The scratch surface should next be filled with body filler putty. Spread the putty evenly over the scratched area using a razor. When the putty is dried, use a glued piece of plastic to imprint the puttied area. After the putty has completely dried, spray the entire plastic panel with paint that matches the panel. Allow the paint to dry.
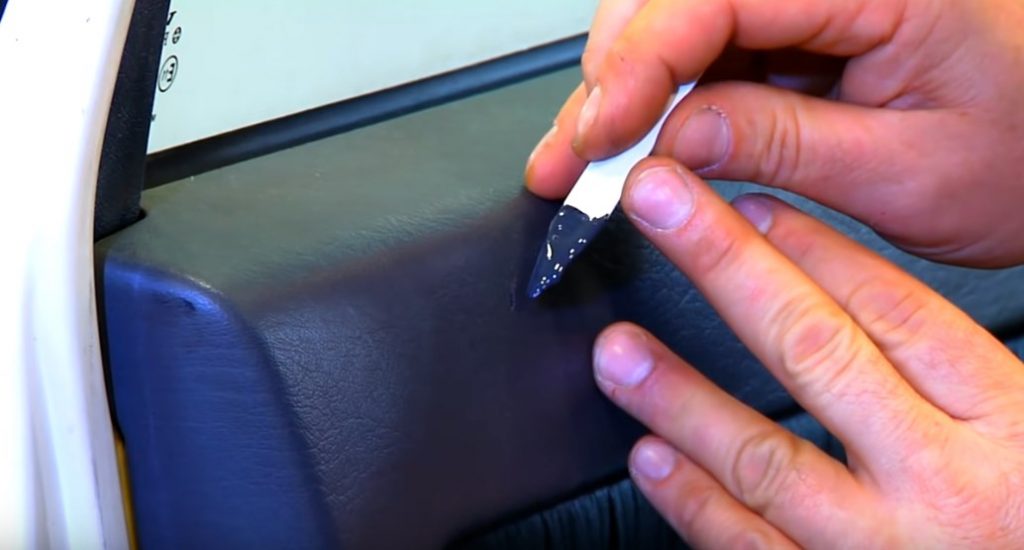
#4 Make the Plastic Interior of Your Vehicle Look New
After you have removed the scratches from your vehicle’s plastic interior, you must restore the gloss. Use an advanced nanotechnology product to improve plastic by modifying its molecular structure for this project.
When using a product to make the plastic interior look new, use a microfiber towel to gently wipe the surface. The product should then be applied to the surface. Allow the product to sit on the surface for a while. Apply a second layer if you are not satisfied with the results. Remove any excess product with a cloth.
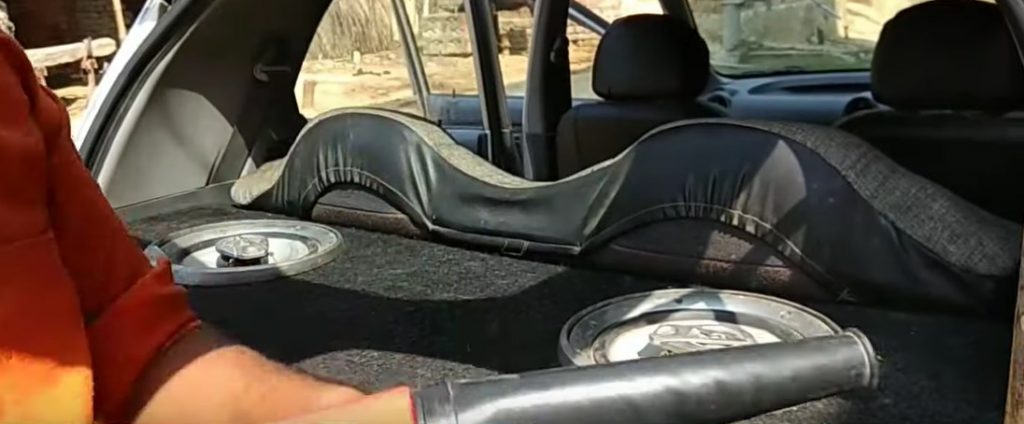
#5 Panel Replacement
While some car interior plastic damages can repair, some are irreversible. When a heavy object is pushed or dropped on the plastic surface, it causes damage.
If this is the case, you should look for a replacement panel that matches the color of your scratched panel. There are numerous solutions available online.
How to Fix Scratched Plastic in a Car Using Do-It-Yourself Methods
To repair the automobile inside plastic with a household hack, you will need baking soda, toothpaste, and sandpaper.
#1 Baking Soda or Toothpaste
To remove scratches from the inner plastic, use mild abrasives such as baking soda or toothpaste. This economical DIY household hack is simple to implement.
To do this, thoroughly wipe the scratched surface with a car interior cleaner. With a towel, dry the cleaned surface. Then, using a moist cloth, apply baking soda or toothpaste to the surface. Rub the scratched surface with the towel until the scratches disappear.
Using another towel, remove any dust and excess toothpaste. If the scratches are light and virtually superficial, this approach will work miracles.
#2 Use Wet Sand to Get Deeper Scratches
Wet sandpaper can be used to level out the plastic surface with more effort. This is because water prevents material from adhering to the sandpaper. It prevents the plastic from being any more scratched.
For deeper scratches, use wet sandpaper:
Soak an 800-grit sandpaper piece in water.
Allow the sandpaper to remain in the water for a few minutes.
Sand the scratched area lightly with moist sandpaper.
Applying greater pressure may benefit from new scratches. Rewet the sandpaper multiple times throughout the operation to ensure equal sanding. Finally, use a plastic or acrylic polishing product to restore the fixed surface’s luster.
Things to Avoid
This section will educate you about the chemicals you should never use near a car’s plastic inside.
Household cleansers should be prevented because they are one of the most harmful substances that a car’s interior plastic panels can be subjected to. Household cleaners have the tendency to stain the plastic panel on which they are applied. If this occurs, you will need to repaint the affected area with the correct color.
Keep the blowtorch away from the fire as one blows out the flames and the other blows warm air. A blowtorch might melt the plastic, causing more harm. Even a half-second exposure can cause significant damage.
Keep coarse sandpaper away from the vehicle’s inside plastic. The coarse sandpaper may produce significant scratches. Rough sandpaper can inflict irreparable damage. It is always best to use 1200 grit sandpaper.
You should also avoid spray paint because it can get everywhere. You’d have a difficult time cleaning up in such a setting.
How to Avoid Further Damage in the Car
Remove Dust And Dirt
To clear the layer of dust from the car’s plastic parts, use a vacuum or a clean cloth. Vacuuming is a decent system because it quickly removes dirt and dust particles from the inside plastic surface.
The advantage of vacuuming is that you may do a deep cleaning of the entire vehicle. Clean the crevices and cracks to remove as much dust as possible.
Dust The Surface
After you have fixed the larger dust particles from the car, you must remove the remaining dust particles. Using a dampened cloth, wipe down the car from the dashboard to the tires. Try to get into tiny spots around the dashboard’s controls and gear shifters.
To sanitize dust from difficult-to-reach locations, use an old toothbrush, Q-tip, or paintbrush. Using a cloth, dry the surface.
To remove stains, use cleaning products.
Dust can remove by vacuuming or cleaning the surface, but stubborn spots or stains on the interior plastic of the vehicle would require a heavy-duty product. Several cleaning products are available in stores for this purpose.
Use laundry detergent, mild soap, or plastic cleaning products to polish the car’s inside plastic. After using the product, wipe down the surface with a clean cloth.
Frequently Asked Questions
Can you remove scratches from the plastic?
To remove scratches from hard plastic, wipe the surface with a moist cloth. Apply baking soda or toothpaste to the scratched area. Finally, clean the area.
Wrapping up
A car interior plastic scratch is a typical occurrence, but it looks bad. Furthermore, it may reduce the value of your vehicle. As a result, you must quickly remove the scratch from the internal plastic.
However, you must be careful not to overdo the scratch removal because doing so can destroy the appearance of the plastic surface. You can also buy scratch-preventing polishes to preserve your car’s interior plastic in good shape.
Keep the car’s interior plastic away from the items indicated at the end of this post.